Friday, December 31, 2021

2021 Year in Review


At the beginning of the year I set out some goal for 2021 and now it is time to look back and see how I did.  Here is the link to that if you would like to read it.  Lets jump in and review each category and see what I accomplished

Research

This is kind of an ephemeral category and is really hard to quantify.  Most of my site research was easy enough to do, I just drove down the street and looked around.  Most of my research efforts were focused on learning techniques and skills that I would need to move this project forward.  Mostly this involved hours of YouTube video tutorials on everything from scenery to DCC decoder installs.  Below are some of my favorites.  Some are only for eye candy inspirations and others have some real meet to them.

Boomer Dioramas - This is my favorite channel for model railroad content.  Boomer covers it all and his results speak for themselves.  Hours of great material!  I wish there were more hobbyists producing content at this level.

SoCal Scale Models - This is another inspirational channel.  Most of the content is now focused on operations sessions but there is some how-too material in the archive. I love his use of Google Street view photos of actual locations and building s to create his models and backdrops.  I love the vibe of this railroad.

John2618 - This channel was one of the first I discovered when I returned to the hobby and I was blown away by the quality of his work.  He has a small shelf layout in a small bedroom and the detail is amazing.  His truck models are particularly impressive.  Sadly, there has not been any updates for months but there is lots to view in the archive.

Soo the Milwaukee Road - I recently discovered this channel and I am really enjoying the content.  It has a nice mix of modeling, operations and history.  Lots of stuff let to view but good inspiration.

There are many more channels, but these are the ones that have been the most interesting to me so far.  I could do a whole post on YouTube hobbyists.

Planning

I had a very idealistic view of the planning phase at the beginning of the year.  I had visions of using track planning software and maybe even 1:1 printed templates to help plan my new layout.  Well, I found the planning software to be a big pain for the most part.  They have their uses I suppose but for me I just didn't feel like learning how to use it.  In the end I opted for the tried-and-true method of mental visualization and putting down track reality check.  So far, it's working.

Purchases

This is where my idealism and self-restraint went right out the window.  Things started out OK with mostly purchases of older Athearn and MDC kits from eBay.  I was able to get a reasonable collection going for OK prices.  The lack of any train shows until late in the year meant that most of what I bought I bought from eBay, and I paid too much for most of it.  The lack of a cohesive layout plan meant that I over bought most car types as I did not have a clear vision of what was needed.  Also, this shit is just cool and I wanted more and more.  Late in the year I switched from the older 'vintage' kits towards higher quality ready to run from Atlas, Walthers, Excatrail, Scaletrains, and Tangent.  These models are superior in almost every way, but they generally carry a hefty price tag.  I also over bought motive power.  I bought several 6-axle road engines even though I have plans only for a switching layout.  I bought wat too many DC locomotives even after I promised myself that I would only buy DCC/Sound equipped models.  I really should have directed more money towards track and scenery items.

Modeling and Painting

I built a ton of kits for various car types.  I still have many more to build.  I also upgraded most of my cars with wheels, couplers, and proper weight. Some of the cars requires modifications to get them to run properly.  I did several weathering projects as well.  The first half of the year I was very productive in the aspect of the hobby but gradually this tapered off.  I did try and track this activity on my blog but it turned out to be too much of a pain.  I started several Walthers structure kits to help visualize the layout plan but none were finished.  All in all, it was a great year for modeling. 

Summary

I did a crap job of using this blog to document the progress of the hobby this year.  I am much farther along with my shelf layout than is reflected here.  I probably overspent on the hobby this year and at the very least I misspend money - buying too much rolling stock and not spending enough of the infrastructure of the layout.  But I had and absolute blast this year.  It has been worth every minute and every penny!

Here is a video of the first train to run on the new layout.


Monday, November 22, 2021

Shelf Layout Lighting

 Next step in the shelf layout project is to add some lighting.  My room is pretty well lit but I really wanted to highlight the layout.  I am hoping to achieve a shadowbox effect.

The light fixture I selected are from Commercial Electric. These are LED, like most things these days, and come in several different lengths.  I used a mix of 2' and 4' fixtures.  The nice thing about these is they are linkable.  This allows so several fixtures to be daisy-chained together off of a single power cord and switch.  This really simplified the installation.


The overall effect is pretty good but not quite as bright as I had hoped.  I think this will work out fine but  might look into some additional lighting down the road.

Sunday, November 21, 2021

Finishing the Shelves

 Once again, I have let several months pass without a blog update.  I have actually been very busy with the hobby, I have just been lazy about posting.  After my last update in August work continued on the new shelf layout.  By the end of the month the shelves were all installed and the foam tops installed.

The shelves are made of particle board with melamine coating. This makes then very hard and slick.  To glue down the foam insulation board I used Loctite Power Grab All Purpose Construction Adhesive.  This stuff worked great.  It is a little tough to use from a tube for this size project so I have to go back and get the caulking gun tubes.

Before I glued the foam down I prepped the ends of the foam boards and the joints in the shelves.  I wanted to make sure the shelves and the ends of the foam did not get glued together incase I ever need to take the layout down.

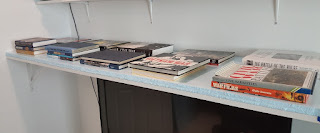
In order to make sure I got a good bond to the shelf I weighed down the foam with some books.  This worked out great and the foam is not going anywhere.


After the shelves were installed and the foam added I realized that my inside corners were just too sharp and were going to be an issue.  I had some scrap wood so I cut some triangles to make a better transition.  Some scrap foam was added to bring it up to the level of the rest of the layout.


I wanted to make sure the inside corners were as sturdy as the rest of the shelves so I used heavy framing hardware to attach them.  This does not move at all.


I am much farther along with the project now and I will be posting a couple more updates very soon. One thing I wish I had done different at this stage is the inside corners.  I realize now i would have make them much larger but they will still work.  Stay tuned for more updates.

Tuesday, August 10, 2021

New Shelf Layout Project

 It has been a couple of months since my last update.  It is crazy hot in Phoenix this  time of year and a garage layout is just a form of torture.  Way to hot out there to do much of anything.  The reality of this has inspired me to move ahead with my in-door shelf layout.

The layout will be located in my home office/study/den. This room is about 11'x13'.  There are double entry doors along one wall and a window on the wall directly opposite. The room needs to continue as an office as I work from home. This means a U shaped shelf layout will be the best fit for the space.  The layout will be about 55" off the floor to allow for easy access under the layout for desks and work bench, etc.

I wanted to have lots of surface area for buildings and scenery as well as interesting track layout so the majority of the layout will be 24" wide.  The span across the window is a concern as the window is nearly 5' wide.  Because of this I limited the deck width to only 12" to minimize/eliminate the need for extra support across the window.

I started the project on the right side of the room on one of the long walls.  The layout will have a 12" wide shelf on the top for storage but more importantly for a lighting valance. 

For the top shelf I used simple stamped steel L brackets.  These are screwed directly into the wall studs.  These types of brackets are cheap and hold a lot of weight.  

This wall has studs that are spaced 24" on center so the brackets are 24" apart. Each bracket is carefully placed to ensure it is level with the previously installed brackets. 

The shelf is a 12" wide particle board style that is coated in a plastic material with a plastic edge. These are made for closet organizers and are cheaper than real wood.  With the ample support the shelf is stable and will not sag or warp.

It already has a finished look with little effort.  So far so good.

With the header shelf in it is time to move on to the main layout shelf.

Since this shelf is so much larger and heavier the brackets are bigger and it gets and extra bracket at the end.  The main weight is carried by the triangular brackets, of which there are 4.  There are also 4 L brackets used mostly to prevent sag and add to the stability.  Leveling is CRITICAL.  

I used the same manufactured wood material as the header shelf and it has the same finished look without much effort.  They are sold in 8' lengths but I cut each down to just under 7' to ensure the seams did not overlap the brackets.  I also cut the corners off where the shelf meets the corner of the room to allow for power cords.  In addition, the shelf is mounted about 3/4" from the wall to make the actual width 24" and for additional cord access behind the backdrop.

Here is the finished phase one with 1" blue foam on top.  The foam is not attached yet but has been trimmed to fit.

So far this is exactly as I envisaged it.  

Phase 2 is spanning the window.  This was a challenge as I did not want to have to engineer addition center support across the span.  This was an experiment but it worked out.
Once again I started with the header shelf.  Since I would have less support for this section I switched to actual 1"x12"x10' lumber.  Wow! This stuff is expensive. Real lumber is much more ridged and will hold up over time where particle board will not.  This shelf is held up with 4 L brackets.  

After a some re-adjustment of the header brackets I got a nice, level span across the window.  This made the installation of the layout shelf easier. The layout shelf got the heavy triangle brackets and is nice and solid.

Phase 3 will be the installation of the shelves on the left side of the room.  This will be a couple weeks down the road.  Until then the window shelves will not be screwed onto the brackets so it will be easier to level the new section.  It will also allow me to make any length adjustments easily.

Stay tuned for more updates on this soon.

Monday, June 7, 2021

My Favorite - Southwestern Railroads

 Something I want to do from time to time is to explore some of my favorite aspects of railroading and model railroading.  There is so much diversity on the subject of railroads that you have to put some limits around it somehow.  My first installment is my favorite southwestern railroads.  This series will be a top 3 format but I might have some subject were there are more or less than three favorites.  Let's get started.

1. Southern Pacific Railroad


OK this one is pretty obvious but I wanted to start this off easy.  The Southern Pacific was not my first 'love' as it relates to railroads but as a young person able to explore on my own this was the railroad that drew me in to rail fanning.  As such it was my first serious model railroad subject.


I spent countless hours in the late 80's and into the early 90's exploring the Phoenix area as well as southern Arizona, mostly for old cars, but also watching trains.  At that time the Southern Pacific ruled the rails in southern Arizona.  It was also a time of distress for the railroad and the well worn look of the equipment really drew me in.


I was able to see some really interesting stuff that is now long gone - the huge copper smelter in Douglas Arizona, street running on Jackson St in Phoenix, lots of now lost industrial switching in Phoenix.

I really miss this railroad and while modern day UP operations, and shabby appearance, remind me of old SP the yellow just doesn't do it.

2. Santa Fe


The Santa Fe was the first railroad I remember seeing as a kid.  It is the other railroad that services the Phoenix area and it is the one I saw the most of growing up.  I always loved the blue and yellow scheme and their red caboose is the only one I remember ever seeing in service.


As a kid my family and I spent a lot of time in the northern Arizona.  Santa Fe dominates the northern half of the state and run along old route 66.  Its such a classic it has become cliche and that is the main reasons I did not get hooked on modeling the Santa Fe.


I now have a different feel for the Santa Fe.  I have already purchased a few yellow bonnet EMDs and I plan to run them on my railroad...but I am still an SP modeler.

3.  Rio Grande


Number three is a tough one for me to pick.  Not because I have so many to pick but because there are so few.  The Rio Grande wins almost by default.  It is the only other railroad that I remember seeing back in the 80s and 90s that was only due to the SP-Rio Grande merger.


I really like the black and orange color scheme and I really like it when they are really dirty.  I don't think I ever saw just a Rio Grande powered train but I did see them mixed with SP engines.


I really want to add a couple of Rio Grande GP40-2 to my roster.  I have already add a bunch of Rio Grande rolling stock to my collection.  

There it is, my favorite southwestern railroads.  These are the only railroads that I have actually seen in operation and naturally form the core of love of trains.

Tuesday, May 11, 2021

Layout Update #2

 The month of April was focused on getting my foam boards and prepping to glue down the track.  There was plenty of work to do for this seemingly simple task.

Here we have the layout with two 4'x8' sections of foam.  Why two?  It was just as easy to get 2 home as 1 so I got 2.  Never hurts to have a back-up

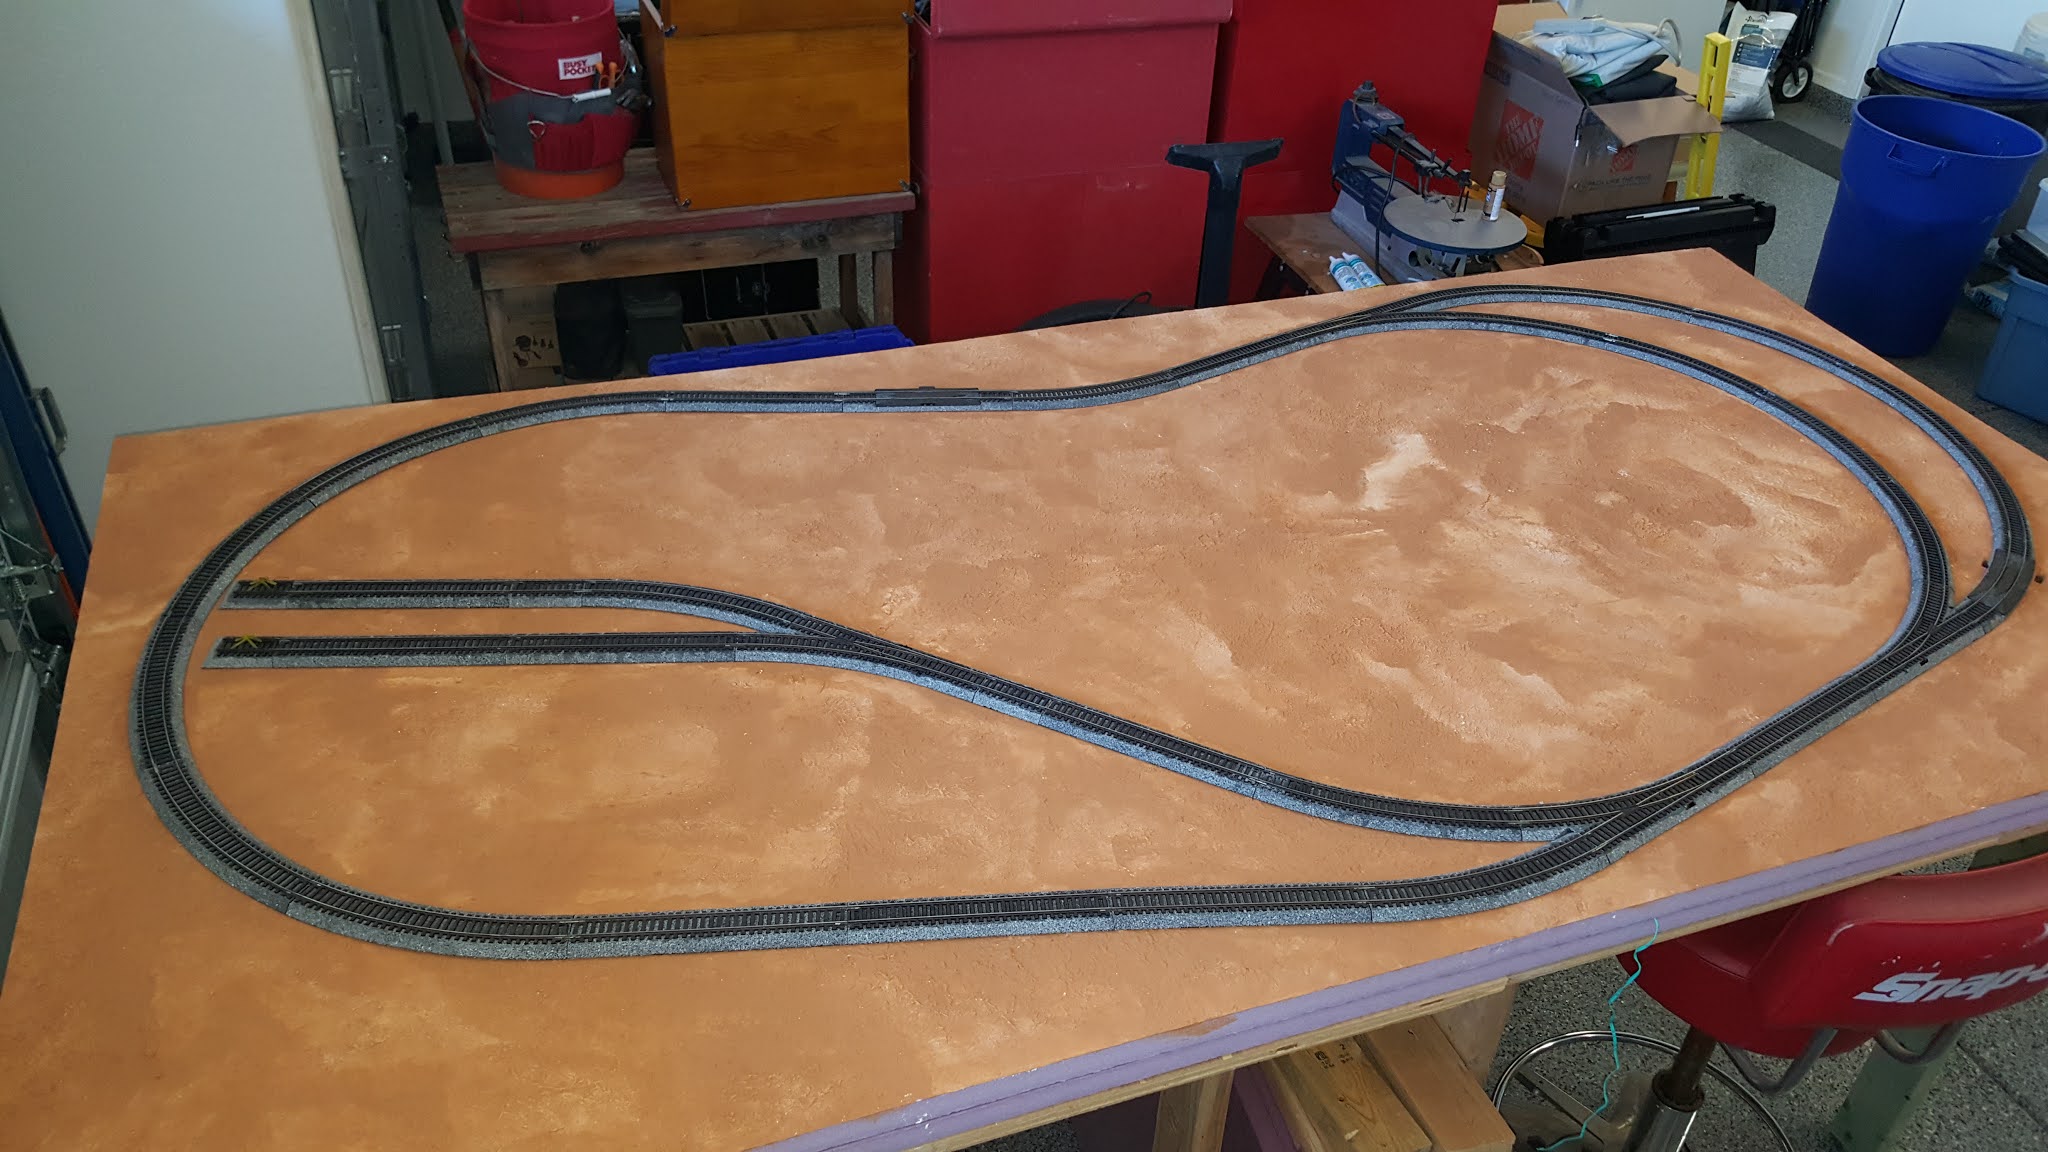
While I have the track down I traced the plan directly to the foam board.  This helps for location of the holes for the wires as well as the placement of the ground texture.

The holes for the wiring were make with a hot foam cutter.  I got most of them wrong initially but it was easy enough to make new holes later on.

Next step is to add texture to the foam.  I do this early in the process so that the layout will have a more complete look even while I am still working on it.  I used some leftover tile grout from my new house build for the texture paste.  Mix it like wet peanut butter and spread it on.  While it is still wet use a plastic bag to dab the grout to add additional texture.

My overall scenery plan is desert models after southern Arizona.  For this I start with a base coat of Honey Brown.  I will lighten this up later.  I painted the track location first so I could quickly put the track back down while I finished the rest.

This phase is now complete.  At this point the track is down and the basic texture and color have been applied.  Next will be verifying the operation of the track electrically and then gluing it all down.


Wednesday, April 21, 2021

More Weathering Examples

 Work continues on my weathering experiments.  Here are some of my latest efforts.  This really takes some practice but even with very little experience you can get some nice results.

This car is the first where I made use of oil paints.  I only have Windsor & Newton Burnt Umber but there is a lot you can do with just this one color.  Before using the oil paint, however, I did some work using acrylic paints.  The rust spots are all done with acrylics and allowed to dry.  I then used the oil paint to do a wash.  Once that was allowed to cure, I went back and applied the rust streaking with the same oil paint. This has become one of my favorite techniques. It is VERY easy.  This car was finished with a dull coat.

These two covered hoppers were done in very similar fashion.  Both started with some stippling of rust colored acrylic paint. I used a very coarse packaging foam as the applicator as this had very wide bubbles to give a good texture.  The UP car got much more of the stippling, and an additional color, than the Rock car got.  After the stippling they both got acrylic washes of very thinned acrylic paint.  The UP car got a more brown wash an the Rock car got grey.  For the final details I did the oil rust streaking on the UP car and the Rock car got some thicker grey acrylic spill marks.  Both these cars were finished with a dull coat.


This hopper got almost the exact same treatment as the box car above.  I always use acrylic paint on the wheels and trucks but I do vary the colors from car to car.  This car was finished with a dull coat.  This is an important step when using the oil paints but you need to wait several days to ensure the paint thoroughly dries.

This car has a lot of techniques going on.  The first step was a thorough dry-brush of light blue over the entire body.  This is particularly important on the roof to give a nice faded look.  Next is stippling of rust colored acrylic paint with a focus, again, on the roof.  Next are some rust scrapes and spots with different rust colored acylics.  The car then got an acrylic wash followed by and alcohol wash.  Each of these washes were dried with the aid of a blow-dryer.  Finally oil based rust streaks were added.  This car did not get a dull coat.


This car is an extreme example of what you can do with mostly alcohol and ink. I started with a dry-brush of an appropriate reddish color to lighten things up.  I then used my Lance Mindhiem India in and alcohol wash. With is applied with a dropper and then allowed to run over the model. It is then QUICKLY dried with a blow-dryer.  As the alcohol dries it will produce this extremely faded effect.  You could leave it just this way but I went back and added an acrylic wash of a light brown over the top.  DO NOT varnish or dull coat this as the effect of the fade will be ruined.

This car was painted like the Santa Fe car above but I added in more acrylic rust work and some rust streaking.  I then dull coated it and the alcohol fade was basically removed.  Fortunately it still looks good so no need for re-work on this one.


I am really starting to fall into a groove with my weathering so it is time to change things up.  I need to add more oil colors to the line-up and I still need to try some pastels and pigments.  I have seen some interesting results on YouTube of using some rattle can spray paint to produce some airbrush-like effects.  So much more to try!

2023 Year in Review and Looking Ahead to 2024

  The New Year brings and opportunity to look back on the old year and reflect on how things have gone, and perhaps, learn some lessons that...