With the big house move complete I am now able to work on my layout. As mentioned in one of my earlier posts I talked about using the Bachmann 'Your First Railroad' track pack to build my layout. I originally planned to buy the track pack on Amazon but, as happens for me, it went out of stock before I pulled the trigger. This led to me buying a bunch of EZ Track second hand. I then found a seller on eBay with the track pack for a good price. The end result is I have WAY more track than I need for this project.


The base for the layout is a 4'x8' table but I opted for future flexibility and built 2 4'x4' table each with 2 2'x4' plywood tops. Each leg has feet for leveling. I have not attached the table together at this point but will be happening soon.

I have had the track down and working for just over a week. I have resisted the temptation to change the layout. My goal is to get trains running and work on tuning locomotives and rolling stock. Layout changes are a distraction at this point.

After several hours, now, of running trains here are a few lessons learned or lessons already know but now have practical application.
Track
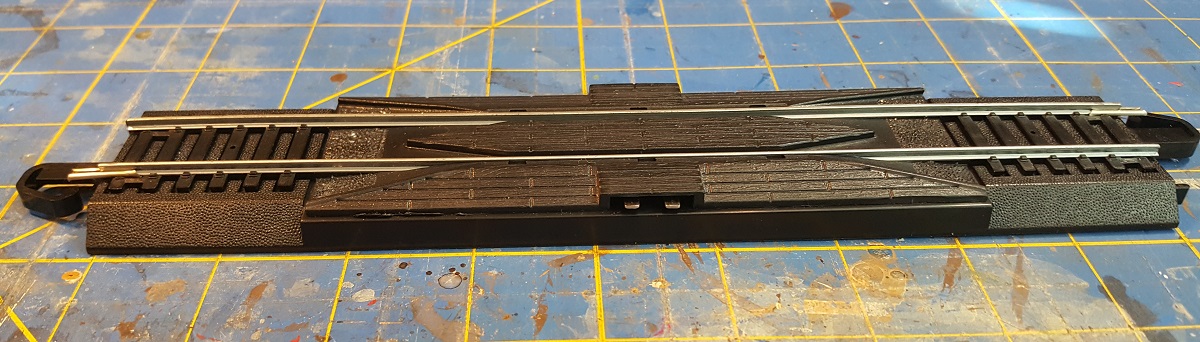
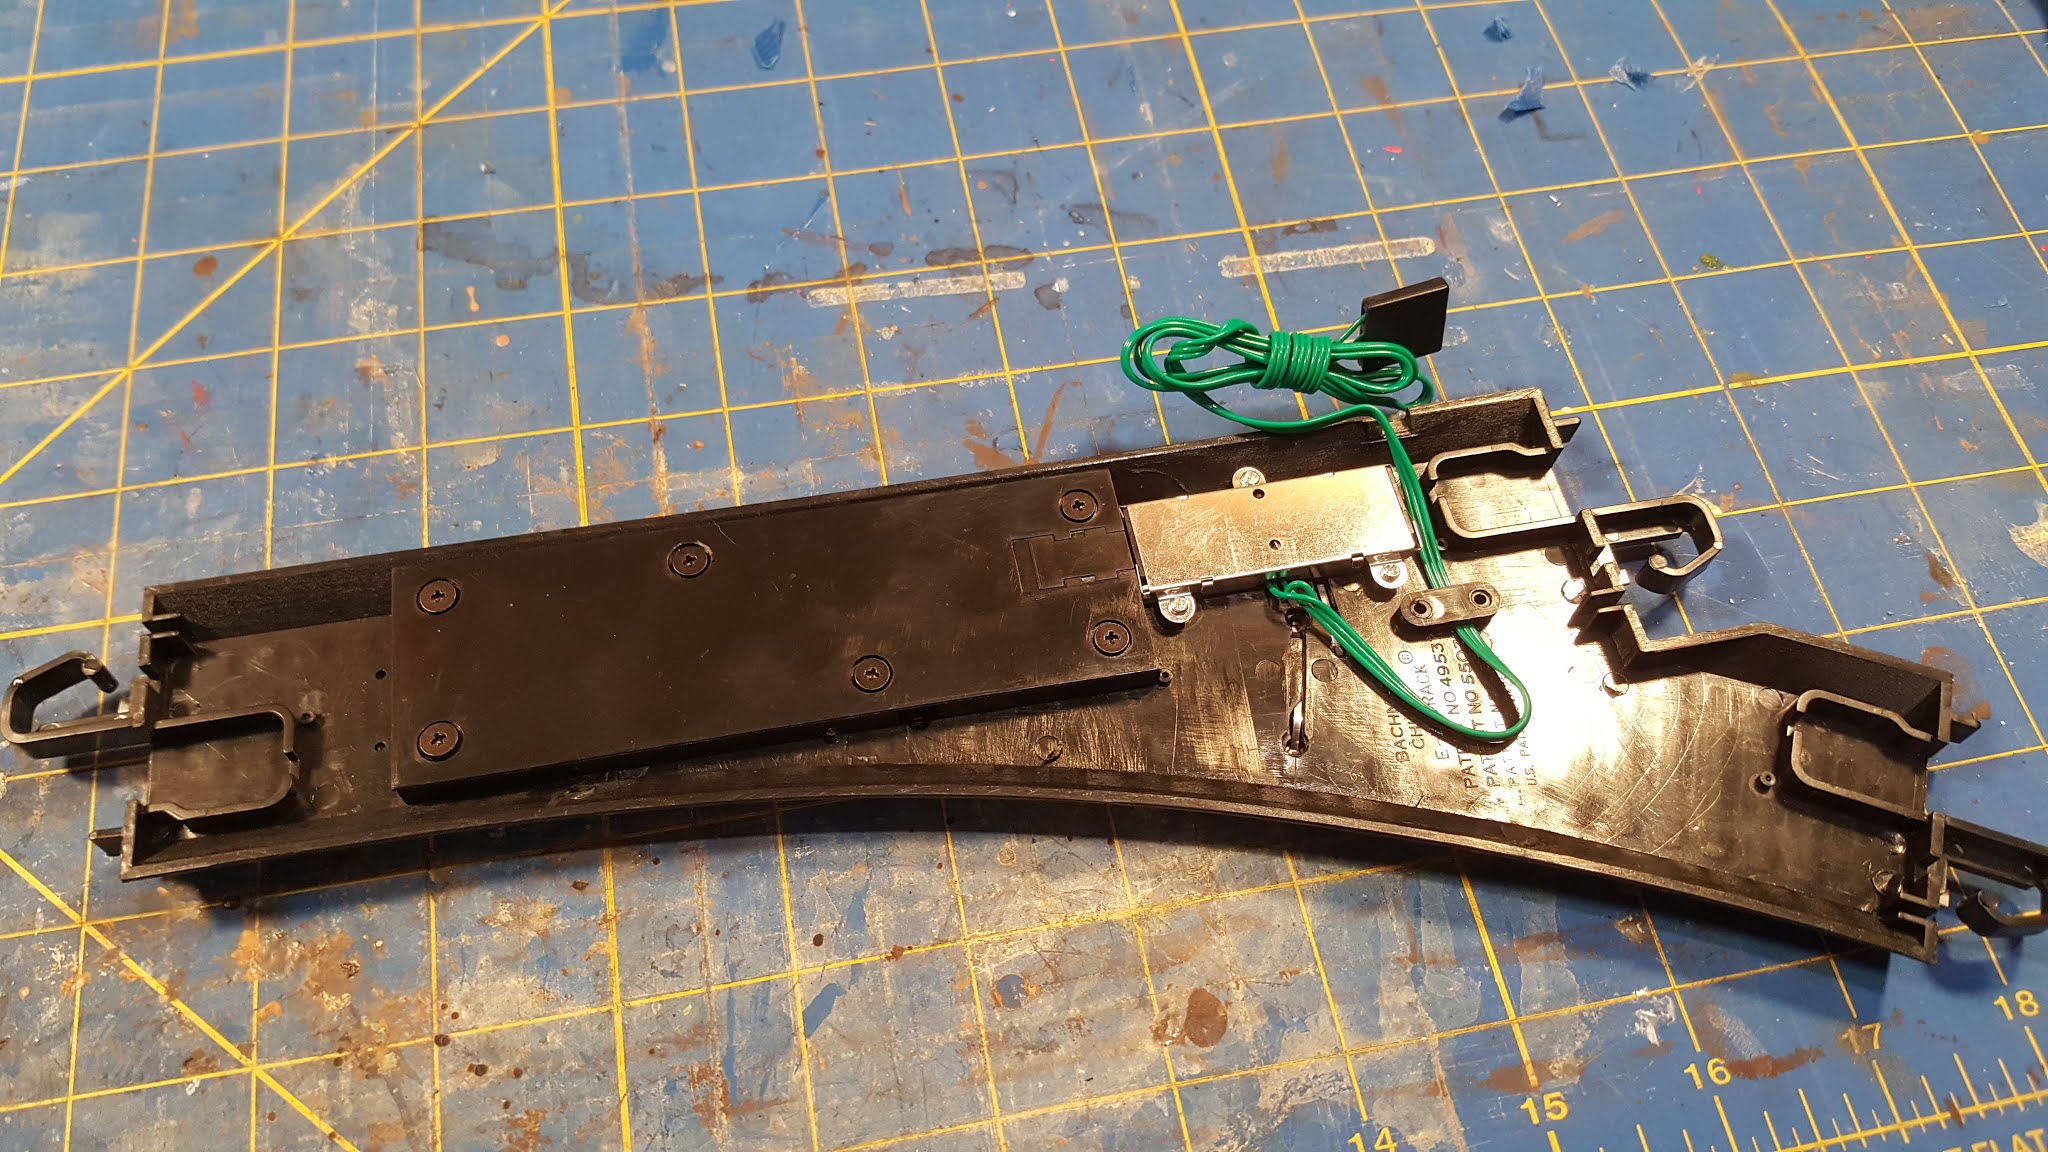
When first getting back into the hobby I was torn between the 'old' way of flex track and cork roadbed for my track. I have used this approach in the past and it is still the most realistic and adaptable method of trackage. I wanted something quick and easy to setup and something that was reconfigurable without demolishing the entire layout. Roadbed track was the obvious solution. EZ track does not have a great reputation amongst 'serious' model railroaders but it is extremely popular with entry level and enthusiasts. The turnout in particular seem to give people the most problems. In my experience so far, the turnouts are much less of an issue than proper tuning of rolling stock and locomotives.
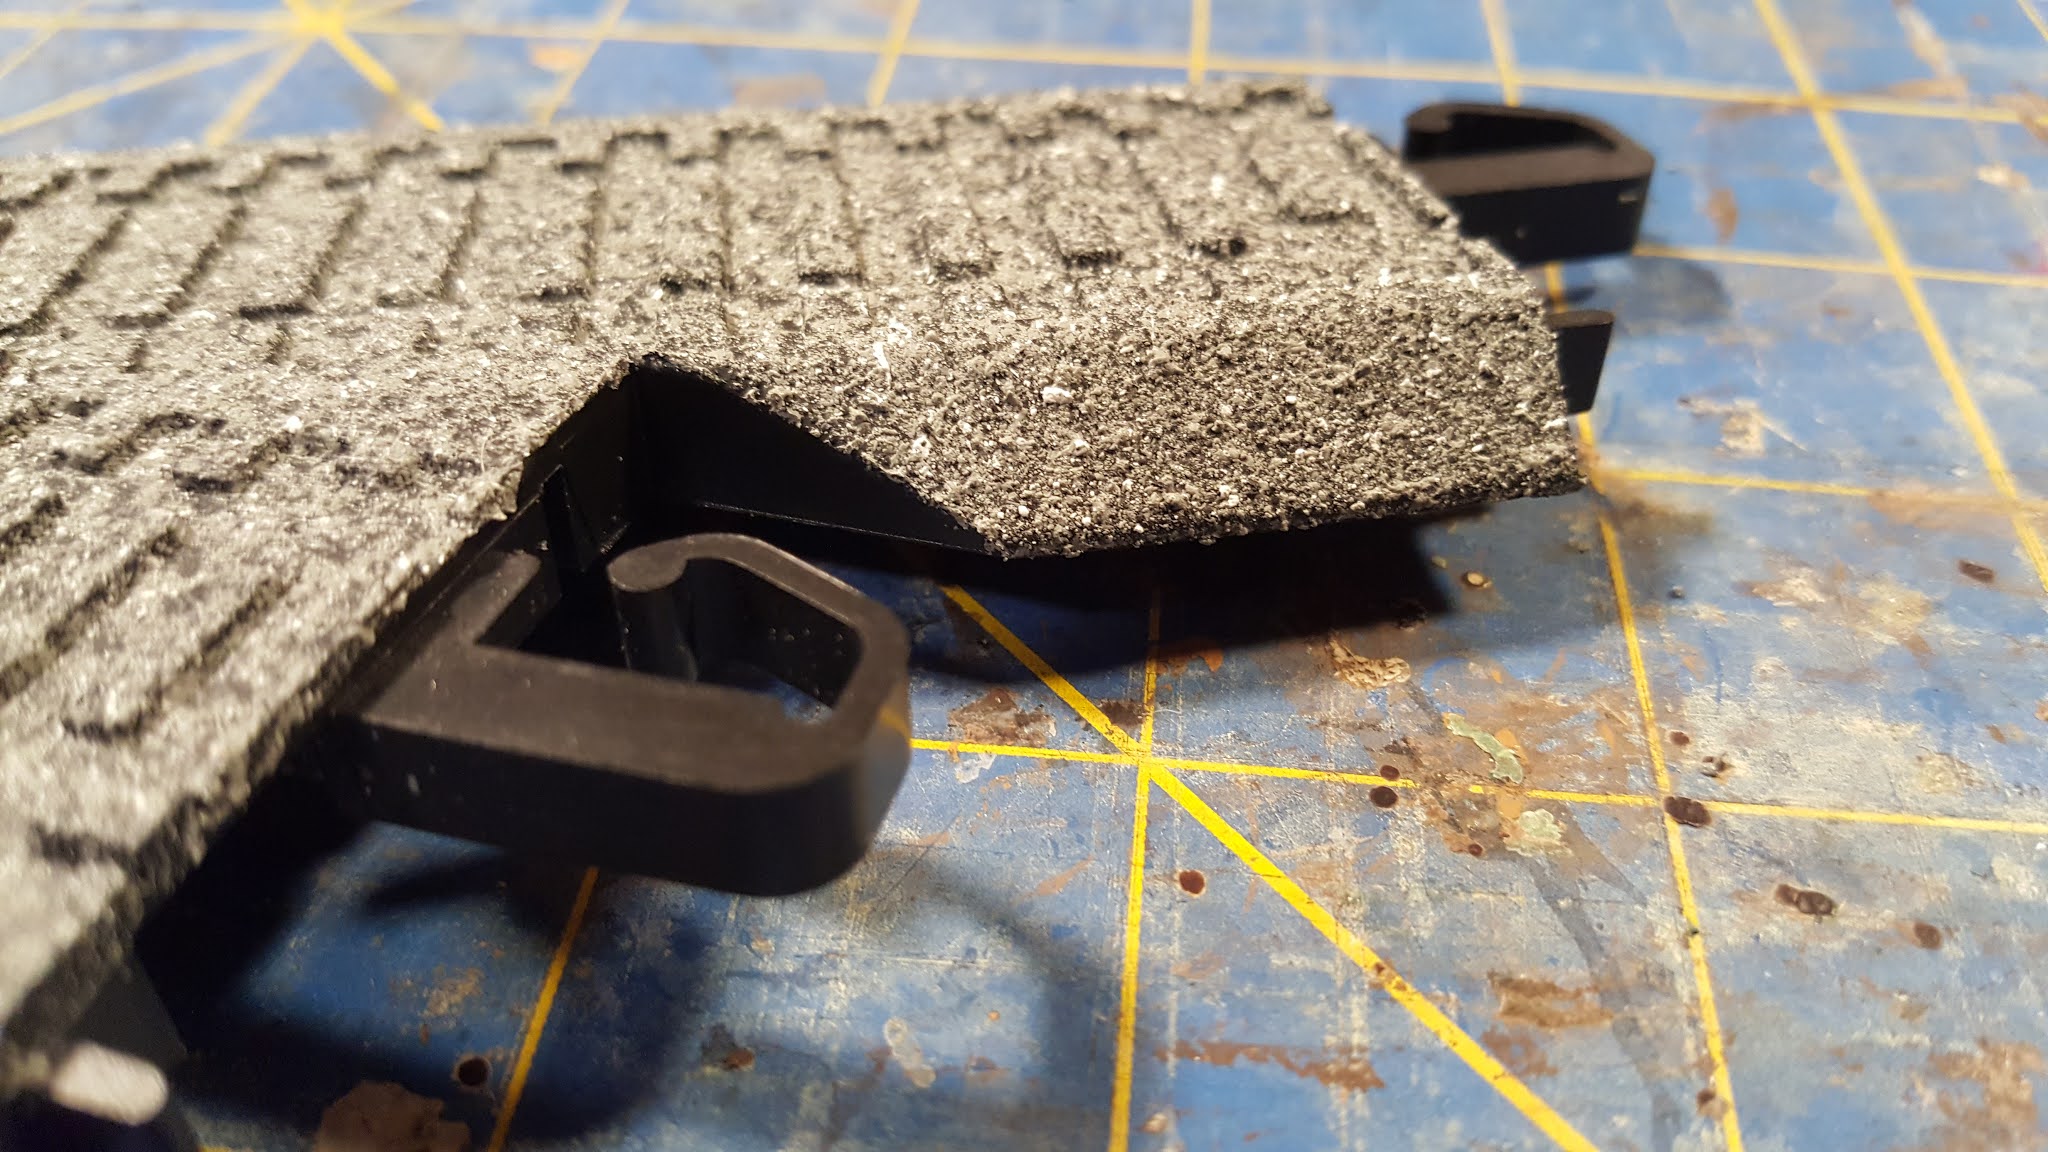
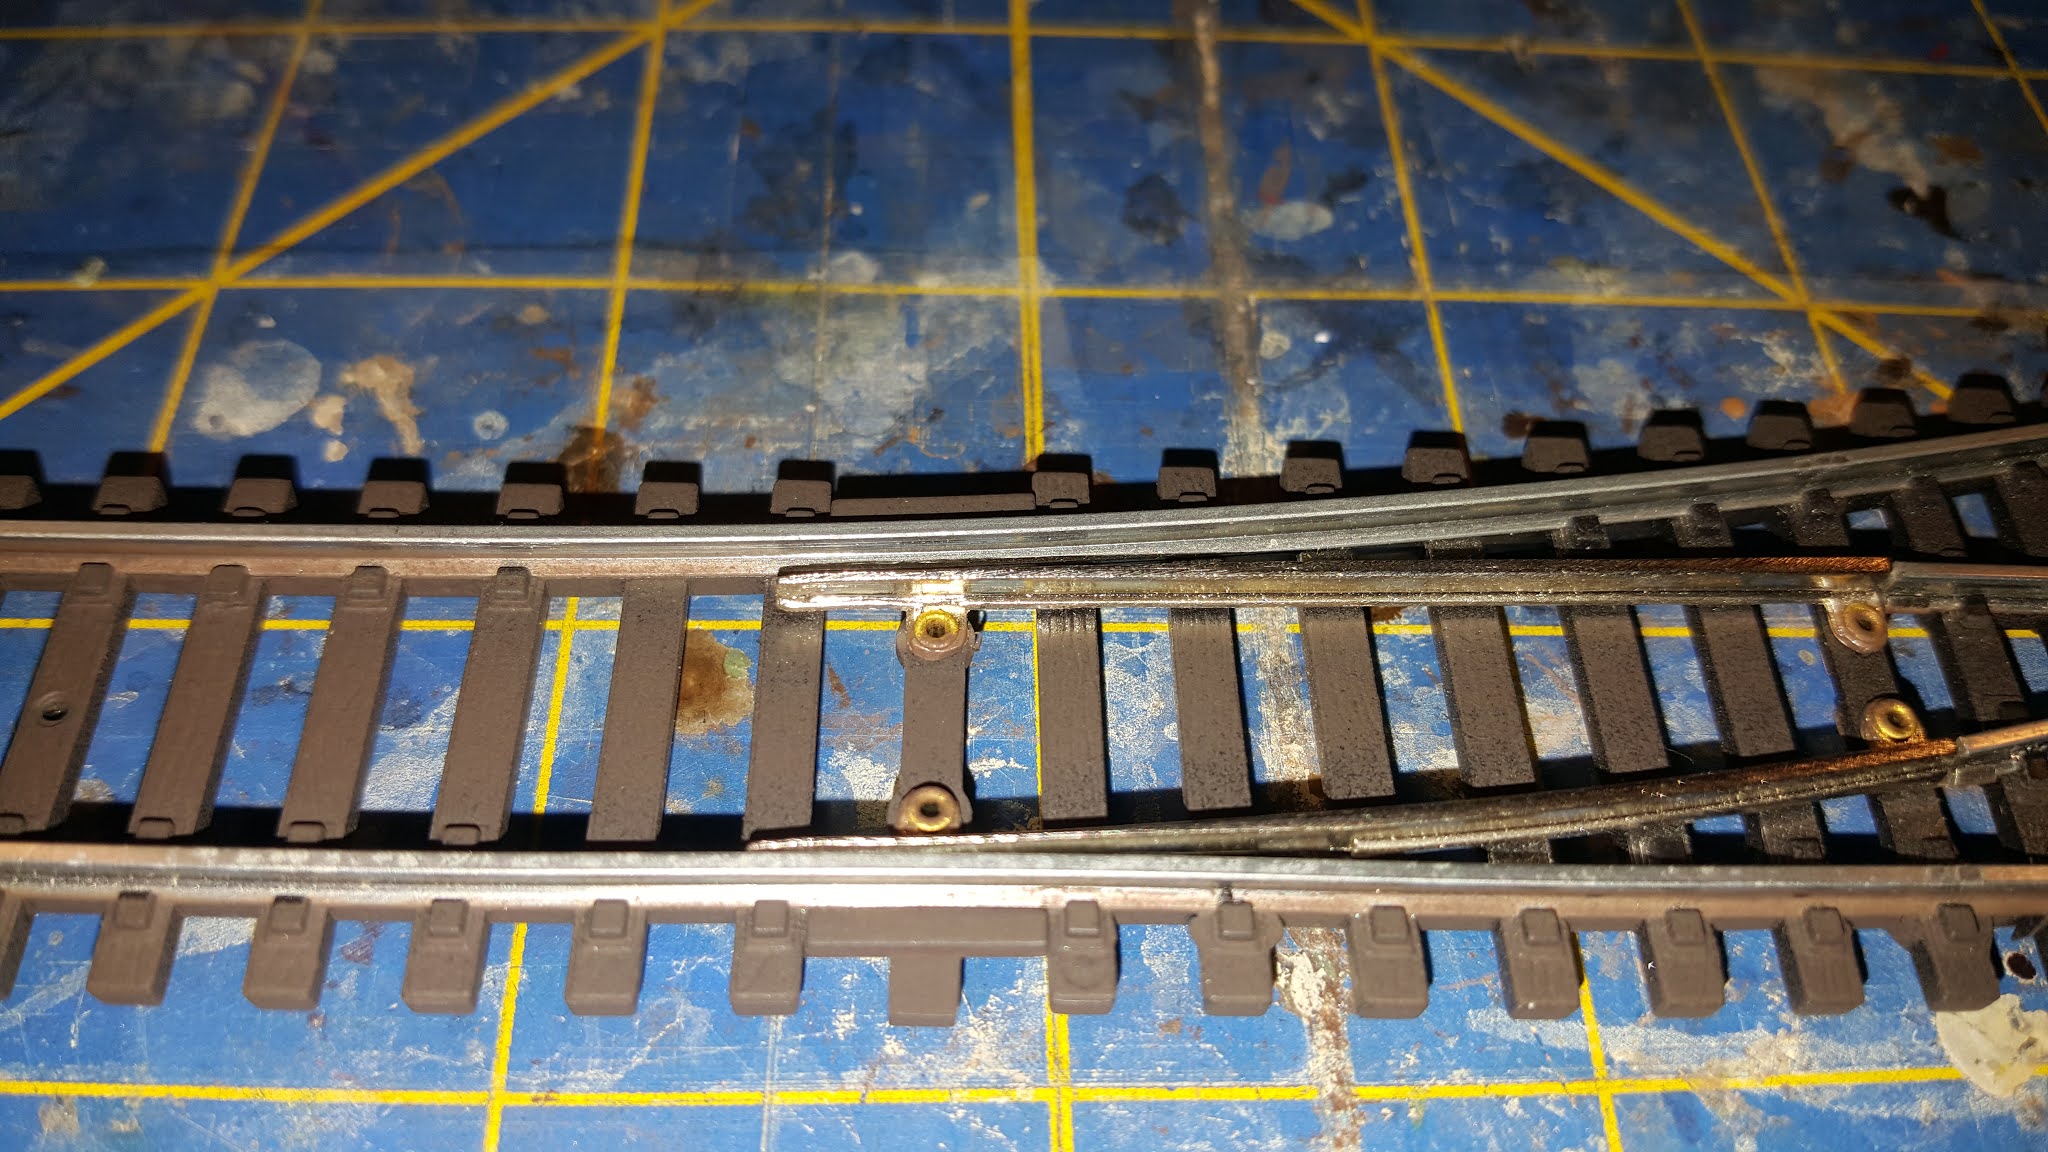
I have been moving ahead with the painting of the track and the roadbed and so far the enhanced track has been running great and looks great.
So far my layout is all the steel track and I have plans to eventually upgrade as much as possible to nickel silver track. I have not had issues with conductivity and I and I am not using any bus wires or feeders. With this size of a layout I would not expect to have to run feeders no matter what type of track is used.
Wheels
There is absolutely no reason to run plastic wheels. I have upgraded most of my rollingstock to metal wheels and anything not upgraded are not allowed on the layout. Plastic wheels are collectors and transmitters of dirt. They are more likely to have gauge and running issues. Don't waste your time trying to make them work, just upgrade.
Having said that, not all metal wheels are created equally. I have run wheels from Kadee, Kato, Atlas and Walthers. My experience so far leads me to say NEVER run Kadee wheels. Every single car that has had derail issues on the my layout has had Kadee wheels. Almost all these issue were corrected by changing to a different brand. So far the best wheels I have run are the Walthers Proto wheels and they are basically flawless.
If you need to change your trucks I recommend either the Kato or Atlas trucks. I like the Kato the best as they have rotating bearing caps and really look cool. They are also less expensive than Atlas trucks. DO NOT use the Kadee self-centering trucks. Not only do they have crappy wheels, even if you change the wheels you will not be able to keep them on the tracks.
Couplers
Obviously knuckle style couplers are the way to go unless you are a nostalgia train collector. Back in the day (early 1990s) Kadee #5 was the standard by which all couplers are judged. I was an early user of McHenry couplers and generally liked them. Lately I have used a bunch of the Bachmann EZ Mate couplers. The new stand seems to be Kadee #148 whisker couplers, and I just bought a bunch but have not tried them yet. So far I feel that there is just no reason to run anything other than the Kadee couplers. All of the issues I have had with couplers have been with the plastic style.
Adjustment of the couplers is also a huge area of issues. Your Kadee Multi-Purpose Gauge #205 or #206 is your best friend. It is critical, if a bit tedious, to make sure you get the coupler height EXACTLY right. Don't settle for close or good enough get it right. It is amazing to me how a miniscule variance in height is magnified on the layout. Two cars with a variance in different directions will have big problems once you start running them side by side. Those same two car might run perfectly when coupled to different cars. Just get it right and save the headache.
Locomotives
I have amassed a collection of about 17 locomotives since returning to the hobby. Many are my old Athearn blue box models from 25-30 years ago. I also have Front Range, Proto 2000 and IHC locomotives. Most of my collection right now is Athearn RTR and Athearn Genesis. The modern Athearn models are absolutely the best I have ever run in my limited experience. Every on that I have works perfectly and they look amazing. They are so good that many of my dreams of upgrading my old Athearn BB models seem to be a huge waste of time and effort (I'll still do it but I will never be happy with them). I have been running my Athearn Genesis GP40-2, GP 38-2 and my Athearn RTR SW1500 and they are all just perfect. Sadly, my 6 axle stuff is mostly too big for my 18"R curves on the layout but I have not tried them yet.
My current number two locomotive choice are the old Proto 2000 models but these have their pitfalls. I have three so far - GP30, GP20 and GP38-2. Of those three only the GP30 is running right. These things don't have a good shelf life so if you buy one, even if it is 'new' and never run, will require work to get them going. They will need to be completely cleaned and new lube applied. You will likely need to replace the axle gears as well. I think that the overall quality of the models make this effort completely worthwhile. They really look great and are a rivals for any of the current top tier models.
Rolling Stock
This is the area of the hobby that I am the most confused about. I'm not sure why things have move towards phenomenally expensive, super detailed ready to run models and away from simpler and less expensive kits. Don't get me wrong, the new stuff is amazing! But it costs so much how can you afford to assemble even a small train of these cars?
The core of my collection are the old Athearn BB, Roundhouse and Accurail kits that are 25-30 years old. I have some other brands as well including some really amazing WathersPROTO and Intermountain RTR models, But I spend my money on the old kits. Once I get the core of the collection to the numbers I want then spending more on one ore two really mazing models will make more sense.
No matter what kind of model you have they will all need some work to run properly. Mainly this will be coupler adjustments and weight. We have already covered couplers so lets focus on weight. NMRA standards for HO scale call for a base weight of 1oz plus 1/2oz per inch of car length.
I have always felt that the relationship between length and weight in these standards is kind of strange and I guess it comes from the assumption that most of the added weight will be added to the center of the model. I have found that the it is more important to place the weight over the wheels rather than in the center of the car. If you do this the effect of the weight is placed exactly where you need it - at the wheels. My personal standard is start with a weight of 4-4.5 oz as the target weight for all cars. Place the weight evenly over each truck and any excess is centered. This solves just about all tracking issues and can minimize bad wheels (*cough* Kadee).
One area that the old models have over the new RTR is in the area of adding weight. The older kits are made to be easily taken apart to adjust the weight as needed. Most of the new stuff seems to be underweight and it can be difficult, if not impossible, to safely disassemble to add more weight.
Summary
I have been having a blast running trains on my silly little layout. You should not underestimate the importance of being able to actually use your model collection while you move ahead with your grand layout designs. The practical experience I have gained from participating in formal operating sessions as well as being able to get hours of continuous running on my home layout has been priceless. There is no substitute for hands on experience in this hobby.
I have joined a local modular club and most of my future efforts will be directed towards building modules. These use more traditional track and building methods but I think my little layout will continue to be an important tools for testing and tuning as well as experimenting with techniques and that was always the main purpose.