The next step in the track upgrade project are the turnouts. These are a bit more complicated than the straight and curve pieces and deserve careful consideration. I am working with the standard trainset turnout. These don't have a number like other turnouts as they are designed to replace either a 9" straight or an 18 degree curve.

|
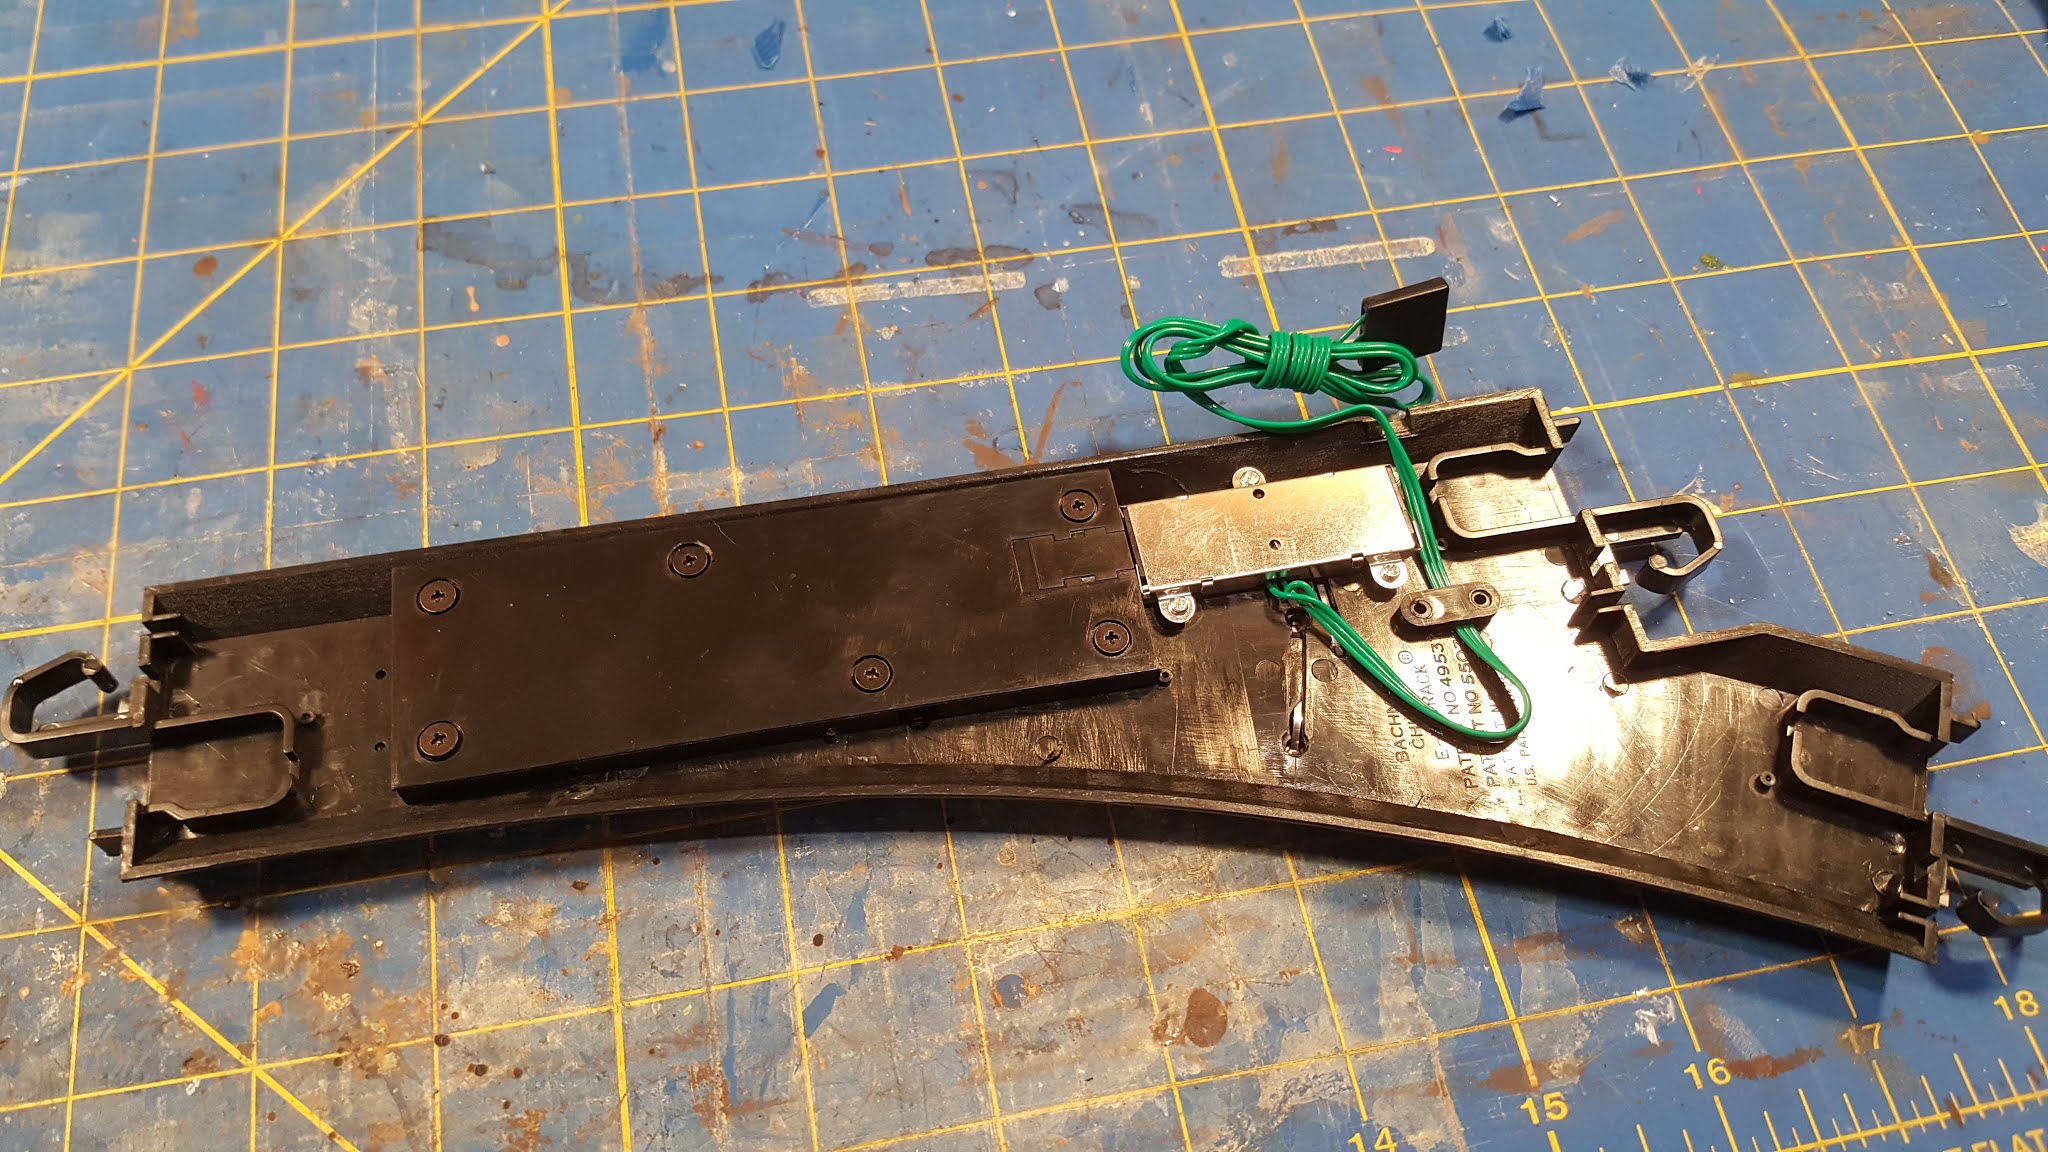
This is the turnout I am upgrading. It is a left-hand remote turnout with steel track and black roadbed.
|
 |
| There is lots of stuff on the bottom. The wire connected to the switch actuator and next to that is a cover held on by some screws. |
Before we can get to painting we have got to figure out how to get the track off the roadbed. This is different from the straight pieces in several ways. The obvious difference is the motor and the linkage that operates the turnout. Another difference is the turnouts are not glued down but have screws to hold them in place. We will start by removing the linkage.
 |
| Remove the six screws that cover the linkage. Take moment to study this before removing any parts. It is a good idea to take a picture at this point to make reassembly easier. |
 |
| The parts are easy to remove. Remove the connecting rod first. It just lifts off the gear and slide out of the tab from the track. Remove the gear next. Keep all these parts in a safe place. You could remove the actuator is you want to. I left mine on but it does complicate things a little. |
Once you have removed all the gizmos its time to flip it over and remove the track.
 |
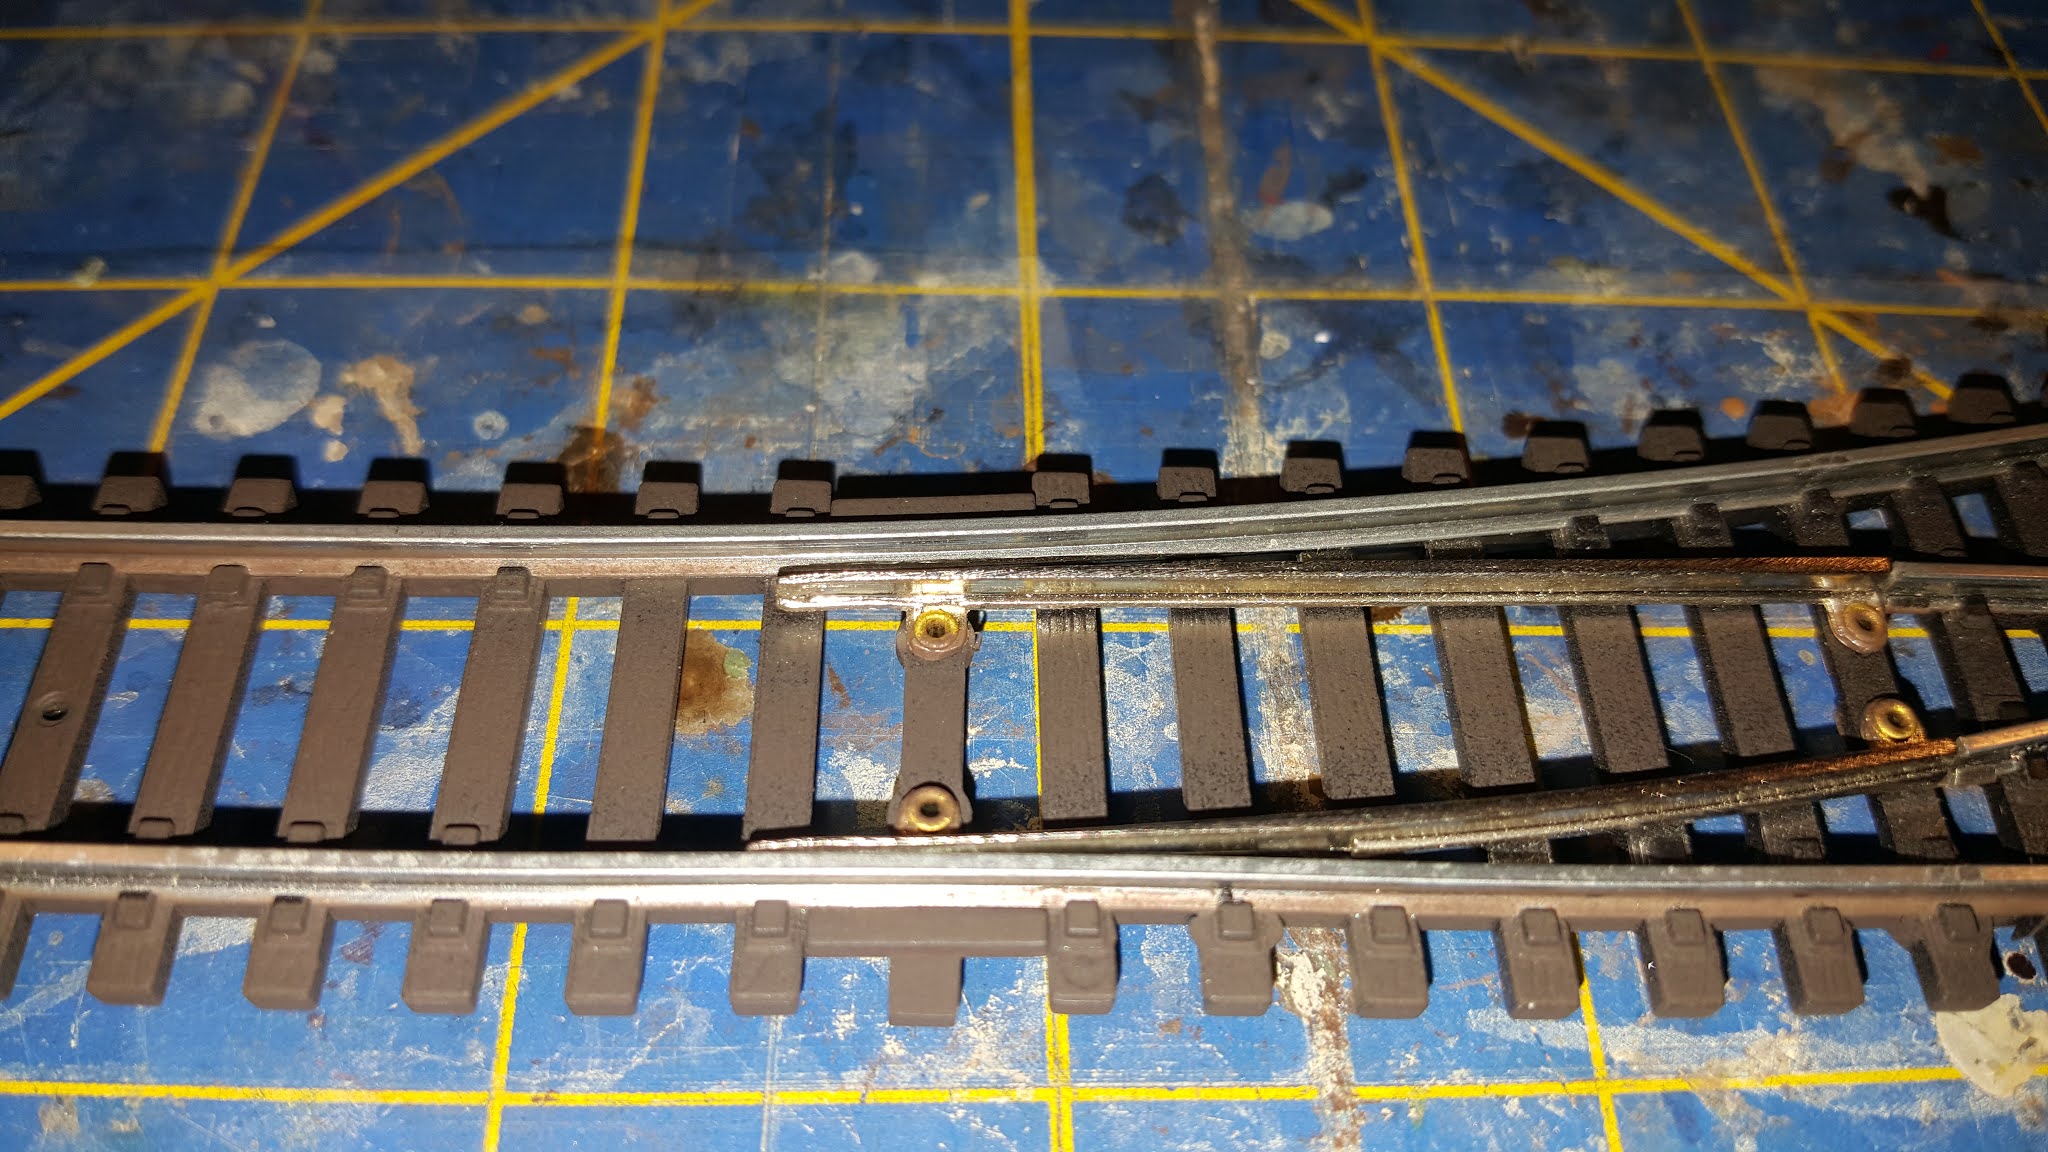
| See that tiny little screw? It is very small. It is a Phillip's head but I used a very small flat head to get it out. The hardest part is finding the right size screwdriver. |
 |
Two more towards the center. See them? There is a fourth screw at the other end. No picture but you get the idea.
|
 |
| We are now ready to prep these parts for paint! |
Once you have disassembled the track you can prep the parts for painting pretty much the same way as for the straight pieces. You can review the previous post for materials and such.
 |
| Here are the painted parts with the painters tape still in place. The track is a little fiddly to get the tape on all the rails but it is worth the time to get a good coverage. |
 |
| I taped off the area on the roadbed where the trunout slider rests. I wanted to make sure this had good movement once reassembled. |
 |
| I taped off this area above the actuator. Seems to be some sort of ground or contact that seemed like it shouldn't get painted. |
 |
| I spent a lot of time taping off this notch but in retrospect I should have just painted it. It stands out a too much now. |
 |
| Make sure that when you hand paint the rail sides you leave the contact pints unpainted. If you don't you will have to go back and clean things off to get a good electrical connection. |
 |
| Paint the rail sides just like you did for the straight pieces. Don't get paint on the ends of the rails where the joiners connect. |
 |
| Turnout is reassembled and needs just a little bit more detail work to be ready. The next one I do I will tape off the bottom of the roadbed around the switch mechanism and the wires. I got a surprising amount of over-spray. It didn't hurt anything but I could have caused some issues. |
I was really intimidated thinking about how to do the turnout but they are actually no big deal. Keep track of the parts and document how it all went together and you should have no issues. Not sure what I will try next. The power re-railer is probably the most interesting thing left to try.


No comments:
Post a Comment