My Bachmann EZ Track upgrade project is progressing and this time we have a very challenging section to work on - the powered re-railer. This is probably the worst piece in the EZ track collection. It is a horrible design and it doesn't work very well as a re-railer and it is needlessly complicated as a power track. Having said that it is the piece we have to work with so here we go.
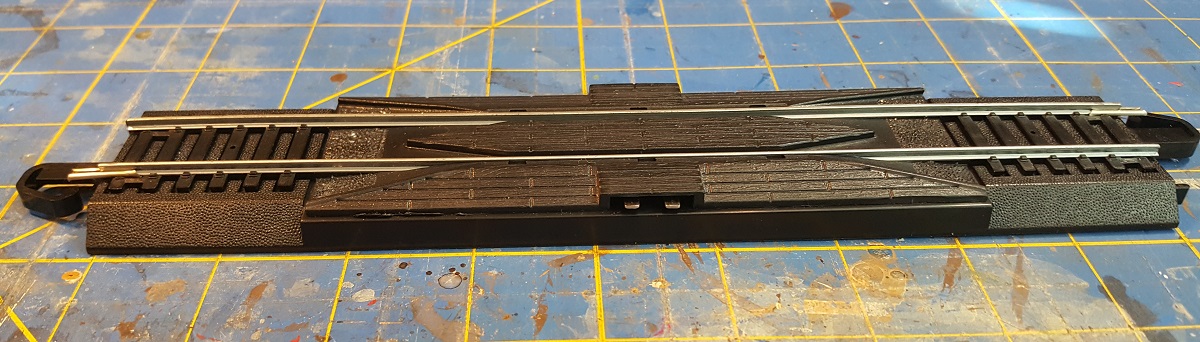 |
| The basic track piece is from a design I used as a kid in the late 70s except mine didn't have the roadbed and the connectors were round rather than the spade style. They really should have done a proper redesign of this a LONG time ago. |
 |
| This seems to be the newer style of this section as it has the index pins to hold the track in place. If these were the only areas where it was glued it would be very easy to get apart but it's not going to be that easy. |
 |
| Where the re-railer meets the roadbed there is glue almost all the way around. You will need to take your time getting this apart. |
 |
| I used a sharp hobby knife and a small flat screwdriver to gently separate the track from the roadbed. Start in the middle just like the other sections. You will get a pop when the center index pen comes loose but you will still have to carefully work all the glue spots apart. |
 |
| You can see how many location they used to glue the track to the base. Clean off an excess glue and smooth an nicks from the knife. |
 |
| You can see how the terminals are connected to the rails. This is a good time to mark the terminals in some way so you know which is which. A notch on the plastic or something like that will be very handy in the future. I, of course, didn't think of that until I had reassembled it. It does seem like the near side rail is always the right terminal. |
 |
| Taping is the same as the other sections. I wanted the 'ballast' to flow farther up to the wood sections so I did a little more taping. If you do it this way the track section will be taped and painted twice but I like how it turned out. |
 |
| Base painting is done. I used brush on paint to fill in a little on base around the re-railer. If you don't do this you will have a nice black line all the way around the re-railer. I used the same paint to paint the sides of the rails and to dry-bruch over the wood. |
 |
| Reassembled and weathering washes ha been applied. I think this looks pretty good. I think I will try and build some sort of track-side shack or something to hide the plugs. These do not look right to me as grade crossings as a lot of people do. |
I think in the future I will design my own power section from standard track sections. An idea for a future project but for now this will do nicely.


No comments:
Post a Comment